 Now you can add what you want with the caWeb Designer. Form hundreds of headers, navigation bars, content organizers, and footers you can choose from to freely build your website. With the option to add personal information you can customize your site the way you want it. Today, I will show you how to place and add the content to the footer.
Click this link to order the caWeb Designer.
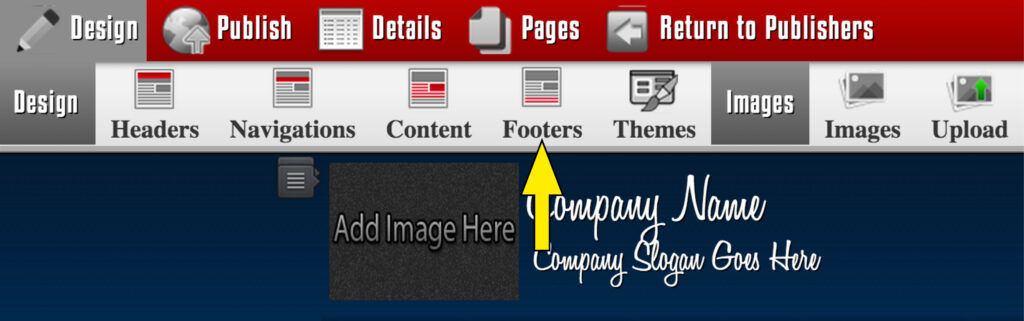
Instructions on how place a footer in caWeb Website Designer.
To add a footer to your site click on the footer button and select the footer that has the same amount of pages as the navigation bar.
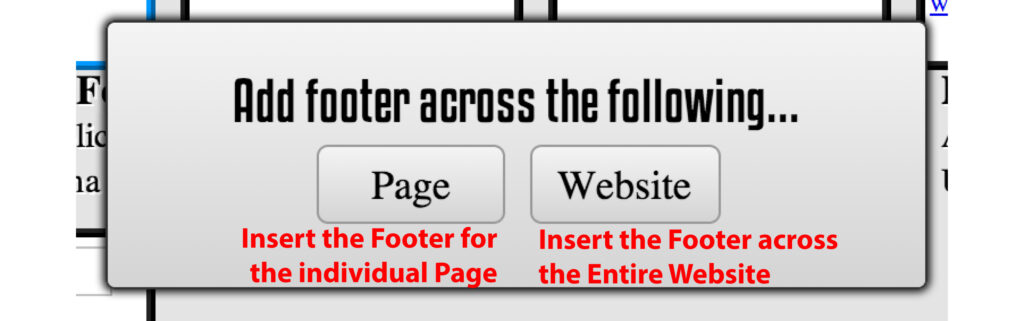
When you select the footer you will be prompted if you want the footer on all of your page or just that one page.
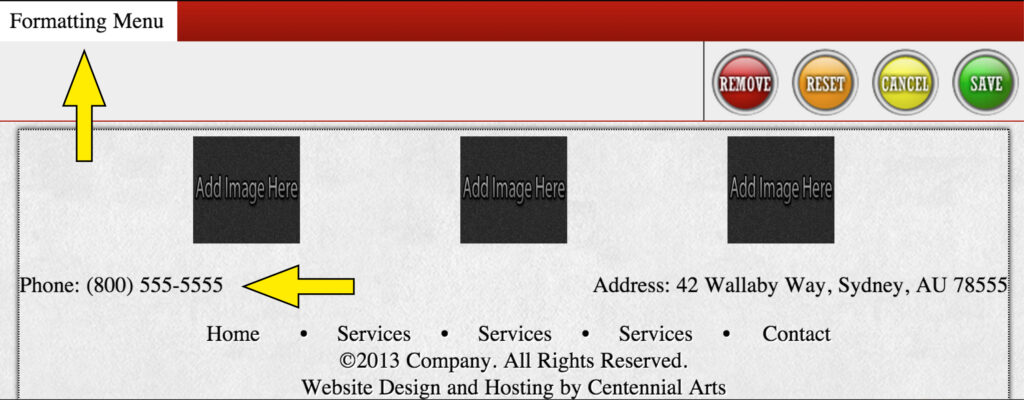
When you have placed the footer you can change the text by single clicking on the text you want and begin typing. After you have the text you want click the save button in the menu that pulled up.
After you have the names of the pages you can begin to add a link location. You can set the link to take you to a page in the site or to another site.
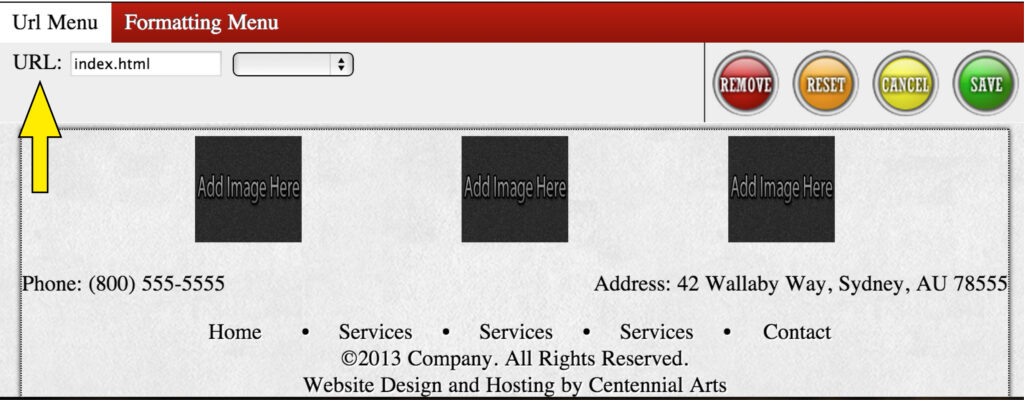
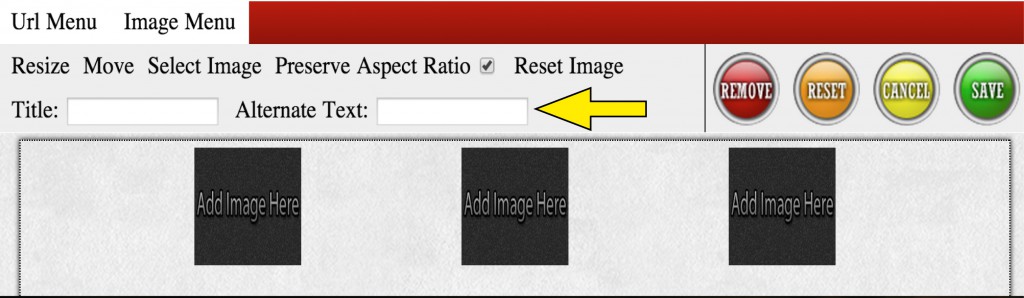
Next you can add a organization that you are affiliated with in the footer to promote Your business. By adding a logo or image.
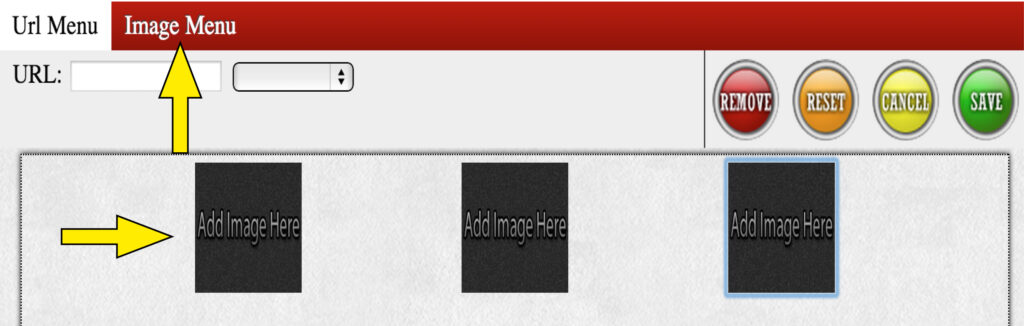
When you set logo or image you need to place the proper url to the proper site.
Adding a address if you selected a footer that has the address and/or phone section. Click the text and begin typing the address and phone number.