
Instructions on how to add a header in the Page Designer Screen on caWeb.
To place a header click the header button and select the desired header format.

After you select the header you will be prompted if you want the header on every page or just the one you are on.

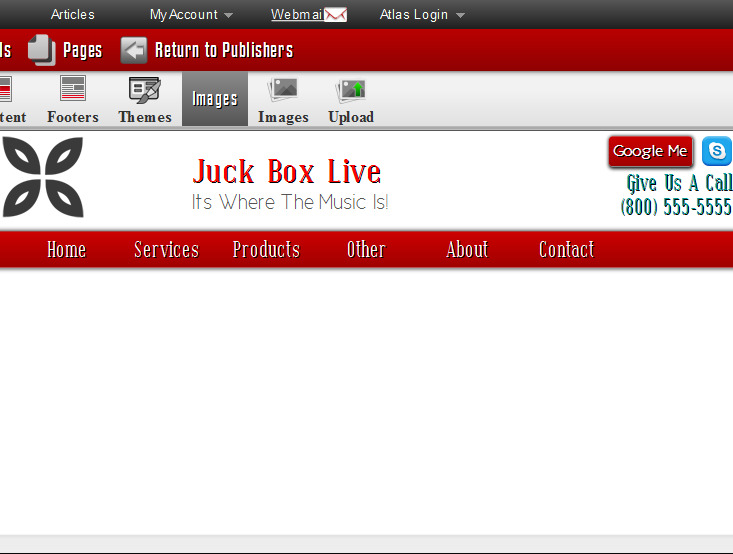
To place a image in the logo click on the add image here. (If your logo has a background the background will show. if this is not desired have the logo with a transparent background. If you have any questions feel free to contact us).
Now you can place a image that is on the list or one that you saved one the list.
You can also give the image a title (the title will appear once you hover over the image revealing the images name).
Add alternate text (A Alternate text is if the veiwer cant view the image the text in the alternate text will appear in the location of the image).
After you have the logo saved then click the logo and in the left hand corner click the url menu and select the page name to be linked in the drop down menu.
To change the company name save and click the company text and type the desired name.
If your header has social media icons you can change the image by clicking on the box and selecting the image that properly fits the the Link location.
You can also give the image a title, a alternate text, and give it a proper url to the site you want to link to by copying the url at the site.